

I’m breaking from talking about Facebook for a minute to discuss how to set up MailChimp for newsletters. Why? Because the next Facebook Page article I was writing explained how to add a newsletter sign-up form to your page… but what if you don’t have a MailChimp account? What then? It made sense to break away from that to touch on setting up MailChimp, which is a free, super to use newsletter platform.
Creating an Account
Joining is easy. Go to MailChimp.com and click the Sign Up Free button. You’ll have to supply an email, login name and password as with any service. You should receive a confirmation email shortly. Once you are verified as a living, breathing person and not part of the zombie alliance, you can login and get to the fun parts.
Fill out your Basic Information to reflect your author persona. Under Organization Information it’s going to ask some required by law information, which includes an address that will be visible when you send out a newsletter. I do not suggest using your home address. I don’t expect that crazy fans are lining the street to mob authors, but you never know who is out there. I use a PO Box address. Other people use their agent or publisher’s address — with permission.
I can hear some of you now. Why don’t I just fill those lines in with garbage? Because it’s a federal offense to not have that information there. If you chose to fight it, please do your homework and make the most educated decision for you. I have chosen to go the route of a PO Box and it works.

Adding Readers
 You want to have people to send your newsletter to. When I first started mine, I pretty much had my personal email and a couple of critique partners who subscribed. I remember the first person who signed up for my list and how freaked out it made me.
I had an actual reader, who expected me to send stuff out to them. OMG!
But how do you get people to subscribe to your newsletter? Magic? Nope! Forms and direct adds.
When I first joined MailChimp I was coming from another newsletter provider so I had a small list of readers all ready that needed to be added.
Let me pause to say this, do not ever, no matter how much you assume it would be okay, to add readers, authors or other professionals to your newsletter without their express permission. Even if you’re mostly certain, do yourself a favor and send them the sign up link so they can do it themselves if you aren’t 100% for sure. It’s another federal offense to add people to newsletters without their permission. How retailers get around that is a very messy explanation. Also, if they do something wrong they have a lot of money to pay the fines or fees associated with that infringement. You and I most likely do not, so you are best served erring on the side of caution.
*steps off soap box*
First, you want to create a list. This list is where your newsletter subscribers are housed. If you send out newsletters for more than one pen name or purpose, you can differentiate the readers by lists. So, let’s pretend I have three pen names, Sidney, Alice and Lea. I could have a Sidney Newsletter, Alice Newsletter and Lea Newsletter lists.
For simplicity, let’s go with creating a basic Newsletter list. You’ll fill out the basic information. Here’s an example…

You can now add contacts to this list, or begin pimping it to all your readers, fans and friends.
Adding contacts from an existing list is as easy as clicking the Import Contacts button from the screen you’re directed to after creating your list. MailChimp has a variety of sites that it can import your contacts from automatically. Or, you can import directly from a file, which is what I have done in the past.
Just a note, MailChimp accepts only the .CSV file type from Excel for uploads. Otherwise, you can simply copy/paste the emails from word or another source.
If you need to get back to the Import section, click Lists from the top, right hand bar. You will see a list of your lists. Click the Subscribers in the desired list you want to add people to. You will now have a secondary menu that has Import as an option.
The importing process is fairly straight forward, so I’m not going screen shots. If you have questions, let me know!
Creating a Newsletter
 MailChimp calls each newsletter you send a Campaign, so remember that as we go through this section and if you continue to use this service.
I chose to create a Template for my Campaigns. To do this I went with a Pre-Designed layout provided by MailChimp, one of the Postcard designs, and dressed with my branding. There are a lot of options to select, so chose what works for you. If you want something devoid of the MailChimp graphics, I suggest going to Basic Layouts and using all your own material. For this blog I’m going to go with the left sidebar layout. I’ve been considering switching to it, so might as well put it to good use, right?
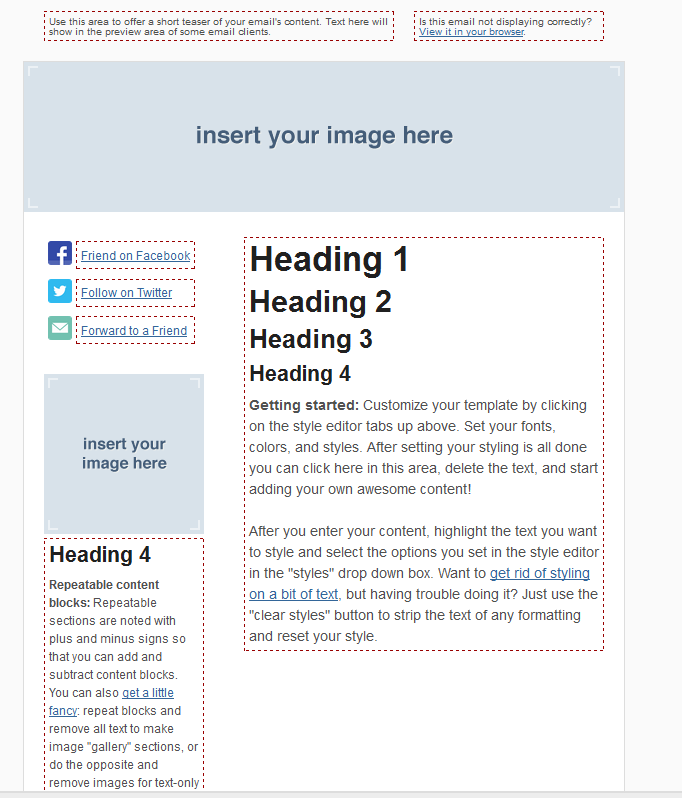
I’m going to give a bullet point list of things I highly suggest including in your newsletter, and then I’m going to walk you through designing my template.
Sid’s newsletter must-have’s:
- Links! All social media links, website, Blog, Facebook, Twitter maybe your email.
- Latest book information
- Cover images
- Buy links
- Links to whatever it is you’re talking about
- An unsubscribe button 🙁
Designing with Sid
This is all subjective, so feel free to do things differently than I do.
I personally like to work from the top down on the template so I don’t miss anything. With the template I’ve selected there are two very small text boxes in the top of the template.
The left box is important to change because this is the text email clients will preview in email. You’ll want to change it every time. Maybe you send your newsletter for releases? So change it to include the name of your release and a catchy hook. For now I’m going to change the text in that box to red so I always remember to change it when I copy the template for a new newsletter.

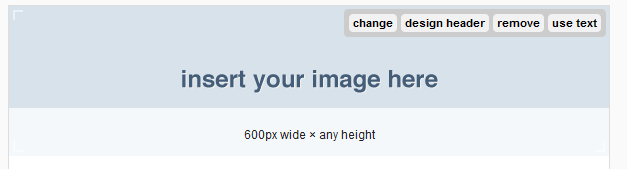
Next up is the header! I chose to keep my brand images uniform across my website and newsletter, so I have an image all ready prepared. There are some options to design something inside MailChimp, again, chose the best option for you.
To add the header, hover over the area until the following options pop up and select what works for you.
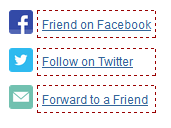 I really like the left sidebar template because of the built in social media buttons. I’m always saying on different mediums how we need to make it easy for readers and other professionals to find and contact us. Having the links in the very top part of the newsletter template is a big plus to me — because how can people miss that? If you chose a different template, have a section set aside for social media buttons. I did a post a few weeks back where I talked about using super cute buttons. You can totally design your own! Just make sure they are there.
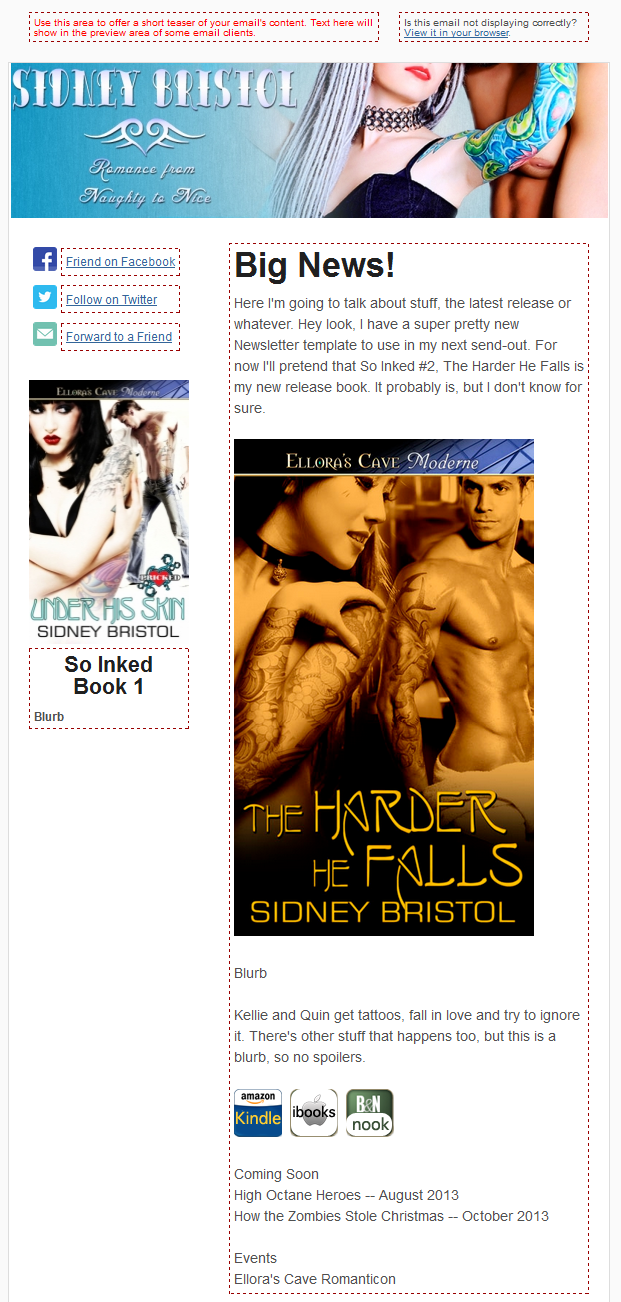
Here’s a screen shot of the quick newsletter I put together as my stock template:
Sending your newsletter
You’ve created your account, added contacts and have a newsletter to send. Time to get it out there!
After you’ve edited your newsletter you can simply scroll to the very bottom of your screen and use the orange, Next Step, button to go to your plain text design.
Mail Chimp is really cool about grabbing your text from your HTML newsletter and putting it into a plain text form.
Why plain text?
Some people strip all HTML, graphics and embeded links from email in an effort to prevent scams and email hackers, among other things. I just click the Copy Text From HTML button and click Next to Confirm.
Below are some of the final things to check. You’ll want to ensure you’ve selected the correct list of contacts, reply to and send to email addresses, you have a clear subject line.
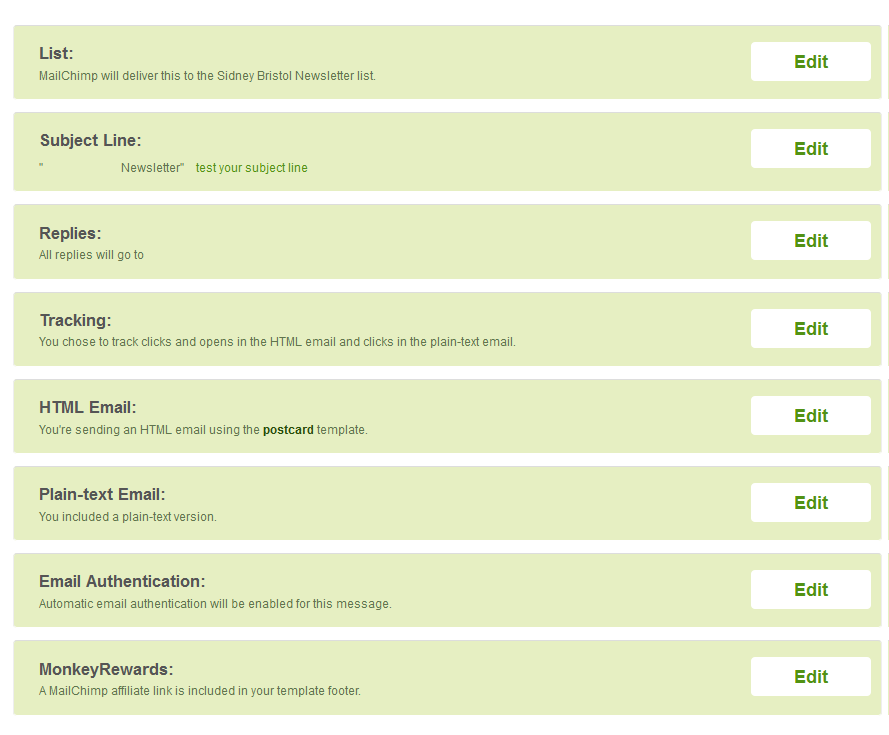
Now, just select if you want to send your Newsletter now, or schedule it for later.
It’s just that easy!

One thought on “Newsletter: Setting up MailChimp”